![]()
In this article, we will install the latest version of NGINX web server that will be associated with the new PHP7 FPM.
In the past, I was a Apache httpd addict and I have used it a lot every time that I'm looking for a web server.
But since I tried Nginx, I adopted it...Nginx is really fast, powerful and consumes fewer resources than Apache.
PHP 7.0 is a worthy successor to PHP5 (yes I know, PHP 6 was swept under the carpet in the middle).
This basic installation will be used later in the next articles to add the support for HTTPS and HTTP/2 protocols.
Add Dotdeb and Nginx repositories to your Debian config
We will install the latest versions of Nginx and PHP 7. Debian Jessie repository is not really up to date, so we will use:
- the official repository of Nginx
- Dotdeb repository for PHP 7.0
Start by opening sources.list used by apt-get.
sudo nano /etc/apt/sources.listThen add the 2 following lines at the end of the file.
deb http://packages.dotdeb.org jessie all
deb http://nginx.org/packages/mainline/debian/ jessie nginx
The packages of these 2 repositories are signed. So to use it, you have to download and install the encryption keys.
cd /tmp

wget http://www.dotdeb.org/dotdeb.gpg
sudo apt-key add dotdeb.gpg

wget http://nginx.org/keys/nginx_signing.key
sudo apt-key add nginx_signing.key
Finally, update the list of packages.
sudo apt-get update
Installation of Nginx and PHP 7.0 FPM
We install in one command Nginx and PHP 7.0 FPM including some very useful PHP modules. 
sudo apt-get install nginx php7.0 php7.0-fpm php7.0-gd php7.0-mysql php7.0-cli php7.0-common php7.0-curl php7.0-opcache php7.0-json php7.0-imapAt the end of the installation, you can check the installed versions with the following commands:
sudo php -v
PHP 7.0.3-1~dotdeb+8.1 (cli) ( NTS )
Copyright (c) 1997-2016 The PHP Group
Zend Engine v3.0.0, Copyright (c) 1998-2016 Zend Technologies
    with Zend OPcache v7.0.6-dev, Copyright (c) 1999-2016, by Zend Technologies
sudo nginx -v
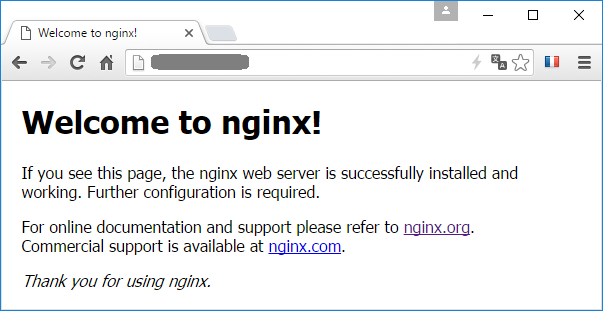
nginx version: nginx/1.9.11If you open your Internet browser at the IP address of your server, you will receive the Nginx default page.
Configuration of PHP 7.0 FPM
We will now configure PHP 7.0 FPM and Nginx to allow them to communicate together.
Let's open the PHP 7.0 FPM configuration file.
sudo nano /etc/php/7.0/fpm/pool.d/www.confCheck that this file contains the following configuration.
In summary, the communication mode is a UNIX socket (/run/php/php7.0-fpm.sock) and it is run by the www-data user and owned by the www-data group.
user = www-data
group = www-data
listen = /run/php/php7.0-fpm.sock
listen.owner = www-data
listen.group = www-data
Let's open now the Nginx configuration file
sudo nano /etc/nginx/nginx.confAgain, check that this file contains the following configuration.
There is a good chance that the default user was nginx, replace it by www-data
user www-data;Now we must explain to Nginx how to handle PHP files.
For this, open the default vHost configuration file.
sudo nano /etc/nginx/conf.d/default.confAnd add the following configuration
    # pass the PHP scripts to FastCGI server listening on /run/php/php7.0-fpm.sock
    #
    location ~ \.php$ {
        root           /usr/share/nginx/html;
        fastcgi_pass   unix:/run/php/php7.0-fpm.sock;
        fastcgi_index  index.php;
        include        fastcgi_params;
        fastcgi_param  SCRIPT_FILENAME  $document_root$fastcgi_script_name;
    }
To finish, restart PHP 7.0 FPM and Nginx services to enable the changes.
sudo systemctl restart php7.0-fpm
sudo systemctl restart nginx
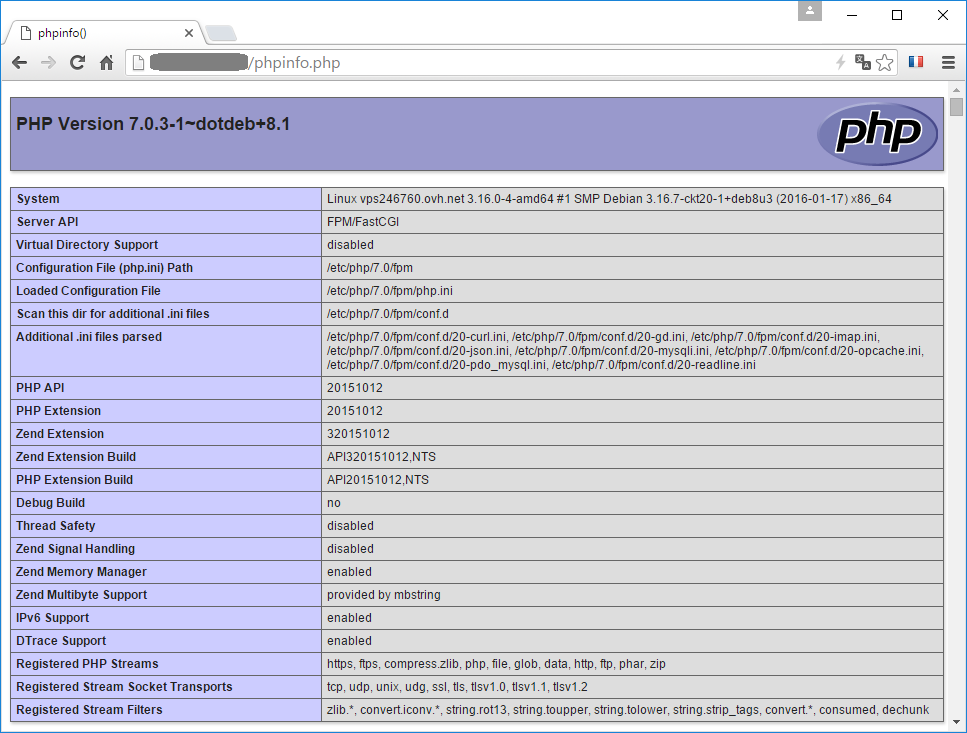
Check that PHP is running
The location of the files published by the Nginx default vHost is /usr/share/nginx/html.
We move to that directory and we create a phpinfo.php file.
cd /usr/share/nginx/html
sudo nano phpinfo.php
Add the following code inside the phpinfo.php that we have just created.
<?php phpinfo(); ?>You can now open this phpinfo.php file in your browser to get PHP answer. 
If you want to go further in the configuration of Nginx and PHP FPM 7, you can read my next article.
Ajouter un commentaire